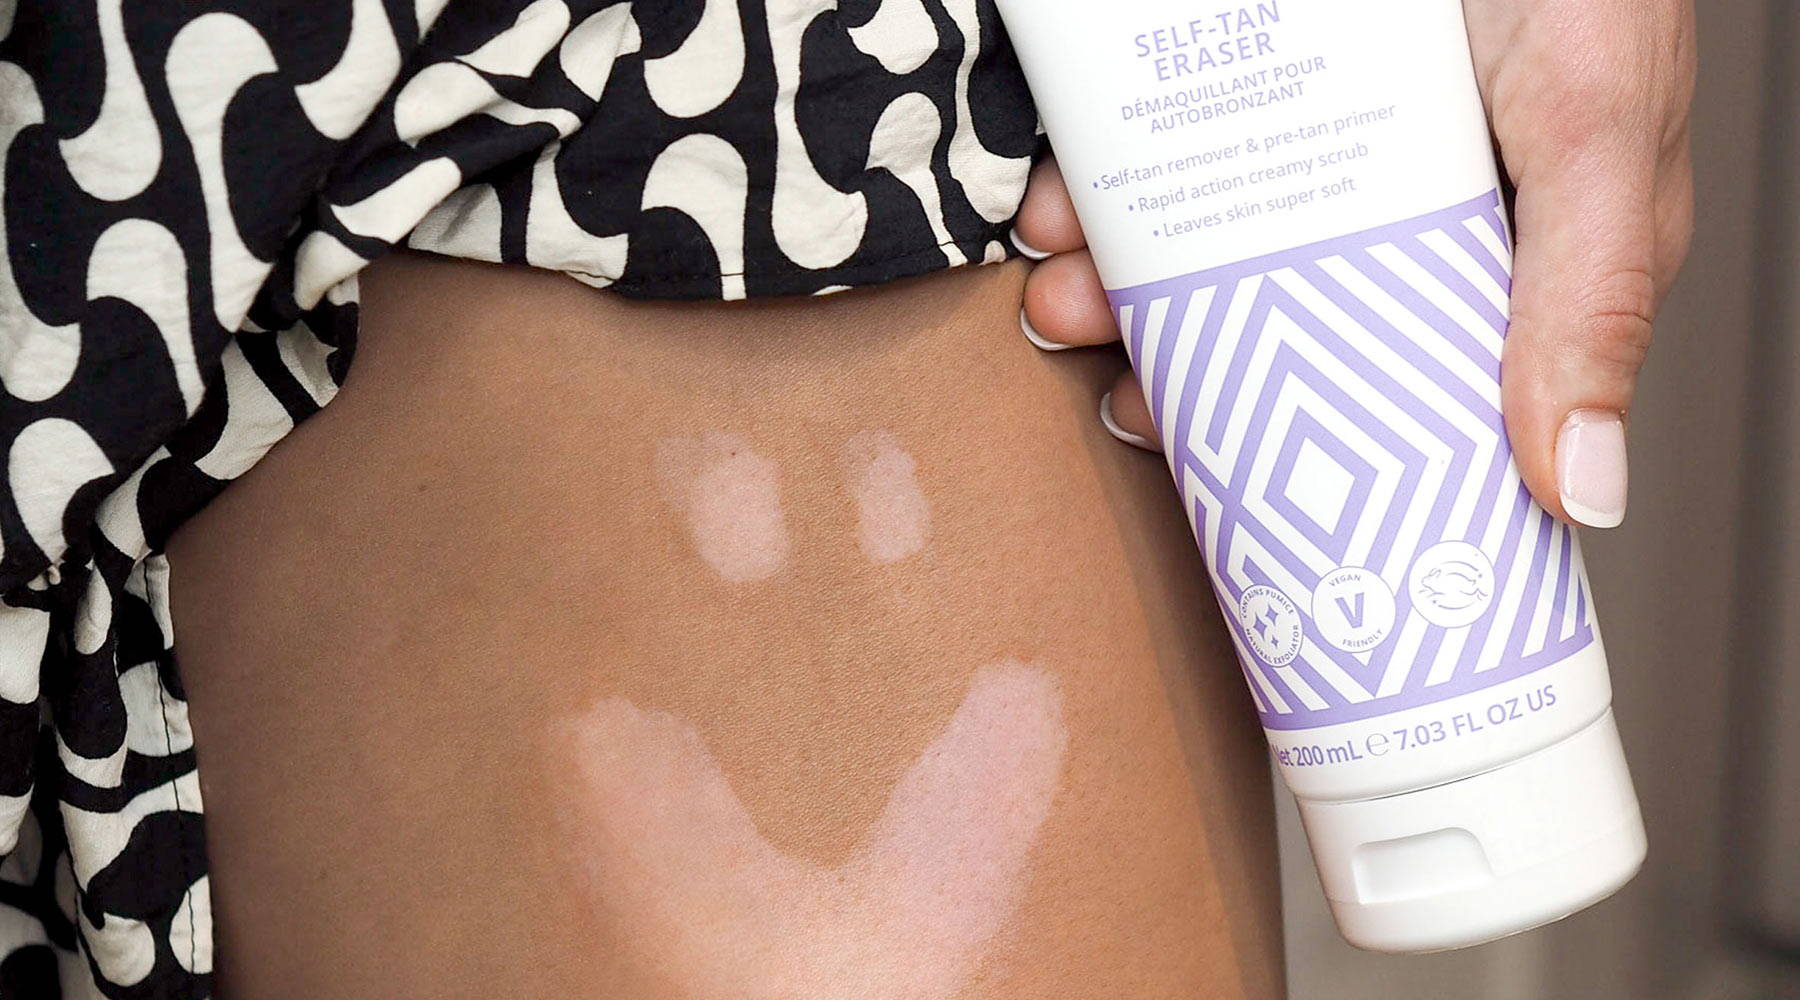
1. Grab your Miracle Tan Eraser and apply it generously over dry skin using your hands.
2. Leave the Tan removal scrub to get to work for 5 minutes, gently buffing around areas that may need a helping hand with your Tan Exfoliating Mitt.
3. Run a bubbly bath and jump in for a long, slow soak (we encourage the use of face masks, books and glass of something bubbly to make the experience all the more enjoyable)!
4. While you're in the bath, grab an exfoliating glove or mitt, like our Tan Exfoliating Mitt and start to gently buff your skin in circular motions to fully remove your tan.
5. When you’re fully soaked out, jump out and thoroughly clean and dry your skin. If you added bubbles or oils, be sure to wash them off thoroughly with clean water as any residue can cause a patchy result.
6. You’re ready for a fresh layer of tan (we recommend to leave it an hour to ensure your skin is completely dry and pores have reduced in size)!
7. Jump back into a nice, warm shower.